 |
| You could make this handbag! |
We offer many classes at Craft Land, and while our most popular classes are the beginners' ones, we are always looking for new ideas and new projects to add to the rest of our classes! We thought you might like a look at how we develop a new class...
It usually starts with a suggestion from a teacher, or more often, some students. We noticed that lots of our sewing students were thrilled to learn how to use their new machines, but were looking for interesting new projects to keep them sewing. Lots of ladies asked us about doing a class on how to make handbags, and so we decided to add it to our summer program! If it's popular, we'll offer it during the regular class cycle starting in September as well.
We thought it might be most fun to let the students have a hand in designing their own bag, so we created a basic bag pattern and added in a whole bunch of optional features. To turn this idea into a class, we dove right in to making our first trial bag! It starts with scribbly notes on paper, with estimates of the sizes that would need to be cut. You can see from the picture, those estimates usually get changed along the way :-P
 |
| It starts with a sribble |
After the notes and the cutting, we get to the fun part - sewing! Here we make more notes, and try a few new techniques that we think people will enjoy learning.
 |
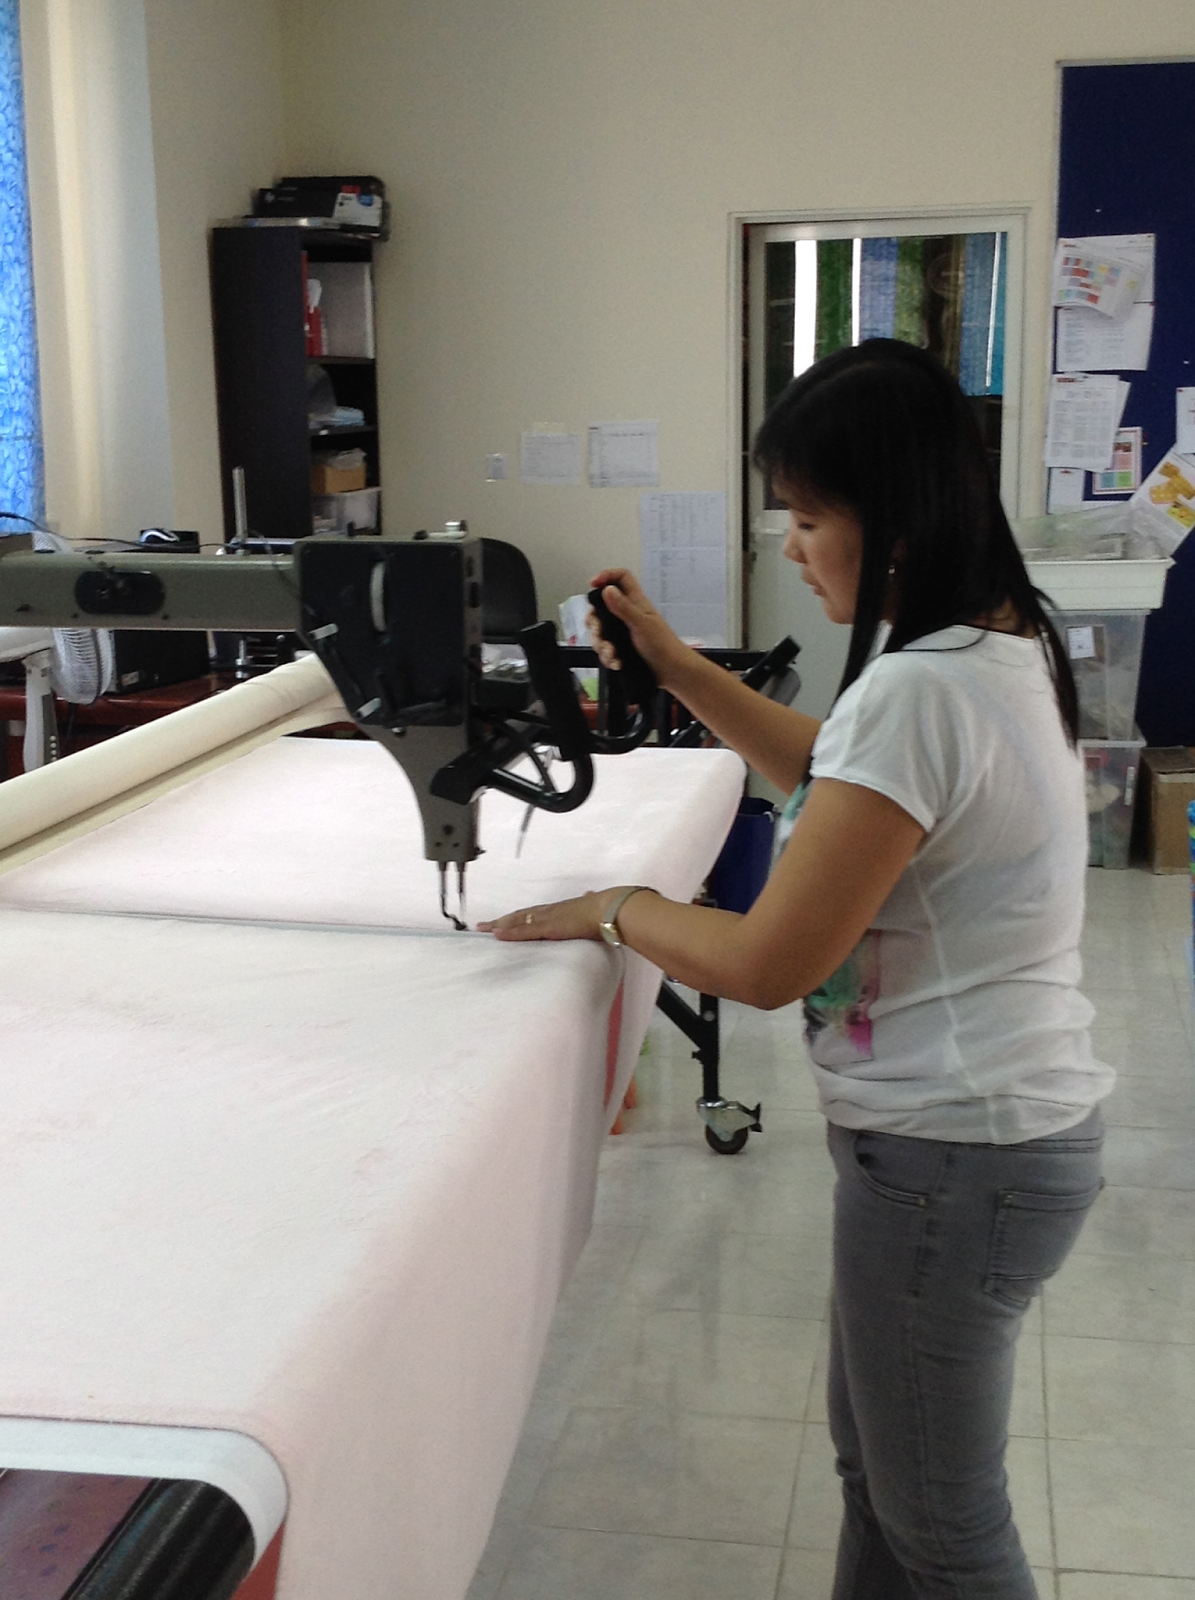
| Danielle working on a second sample - gotta get it right ;) |
We also take lots and lots of pictures! That not only helps us remember what we did, but it's also handy when we are writing the pattern handout. Pictures are always easier to follow than words when you're learning a new technique.
 |
| Lots of pictures! |
Once we've bashed out the design, we get to the writing stage. We use Adobe In Design for creating our patterns, and that lets us add in text, cutting diagrams, and the photos of course. Once the pattern's done, we usually have one of the other teachers test it for us so we can make sure the notes are clear and easy to follow, and that we haven't missed anything.
 |
| From paper to In Design |
Last step is to put the class on the schedule so students can sign up. This class will be offered in July and August, 2014, and will be available for registration from the first of May. That gives us a few weeks to finish up the testing...better get cracking!


